- English
- Español
- Português
- русский
- Français
- 日本語
- Deutsch
- tiếng Việt
- Italiano
- Nederlands
- ภาษาไทย
- Polski
- 한국어
- Svenska
- magyar
- Malay
- বাংলা ভাষার
- Dansk
- Suomi
- हिन्दी
- Pilipino
- Türkçe
- Gaeilge
- العربية
- Indonesia
- Norsk
- تمل
- český
- ελληνικά
- український
- Javanese
- فارسی
- தமிழ்
- తెలుగు
- नेपाली
- Burmese
- български
- ລາວ
- Latine
- Қазақша
- Euskal
- Azərbaycan
- Slovenský jazyk
- Македонски
- Lietuvos
- Eesti Keel
- Română
- Slovenski
- मराठी
- Srpski језик
Drilling And Tapping Machine
As one of professional manufacturer in China, YueLi would like to provide you Drilling And Tapping Machine. And we will offer you the best after-sale service and timely delivery.
Model:LY-650
Send Inquiry
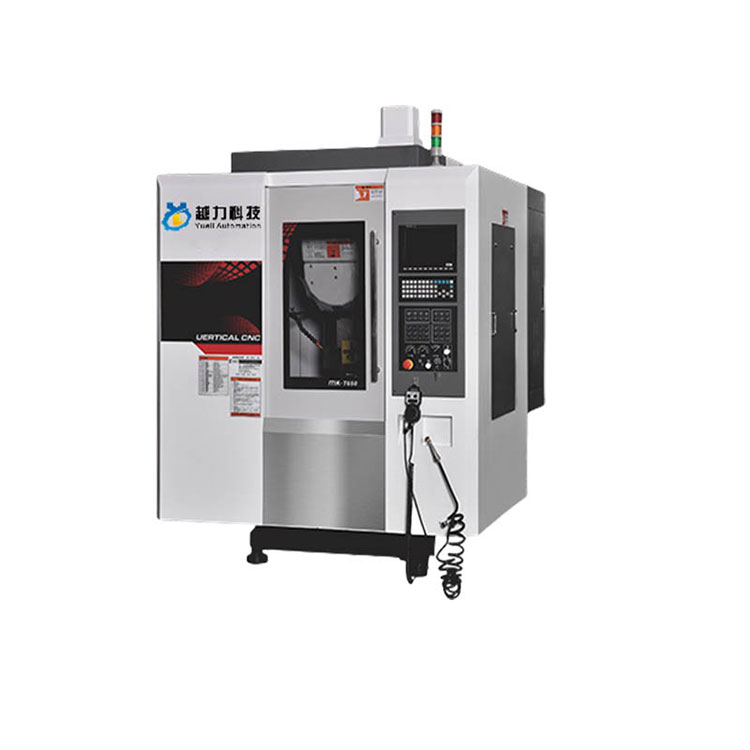
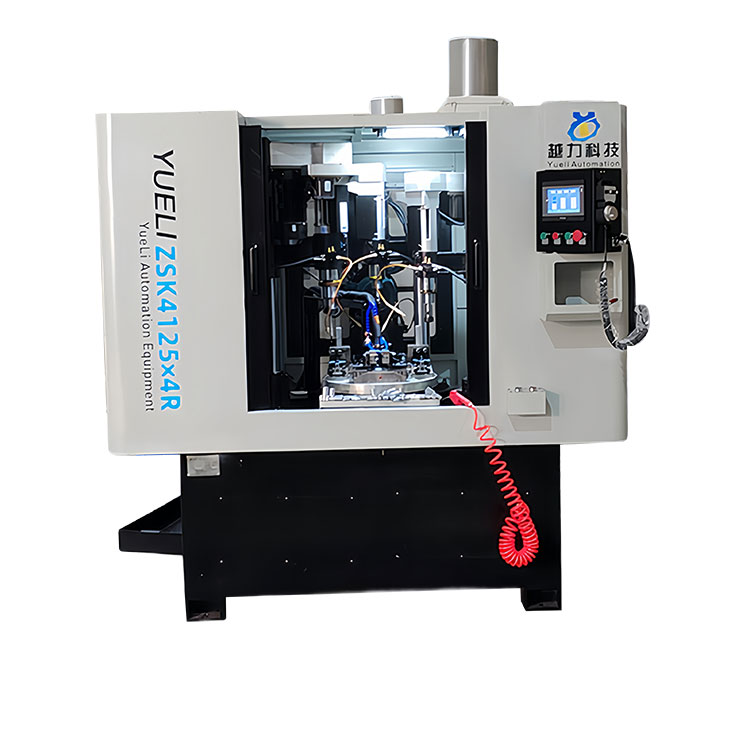
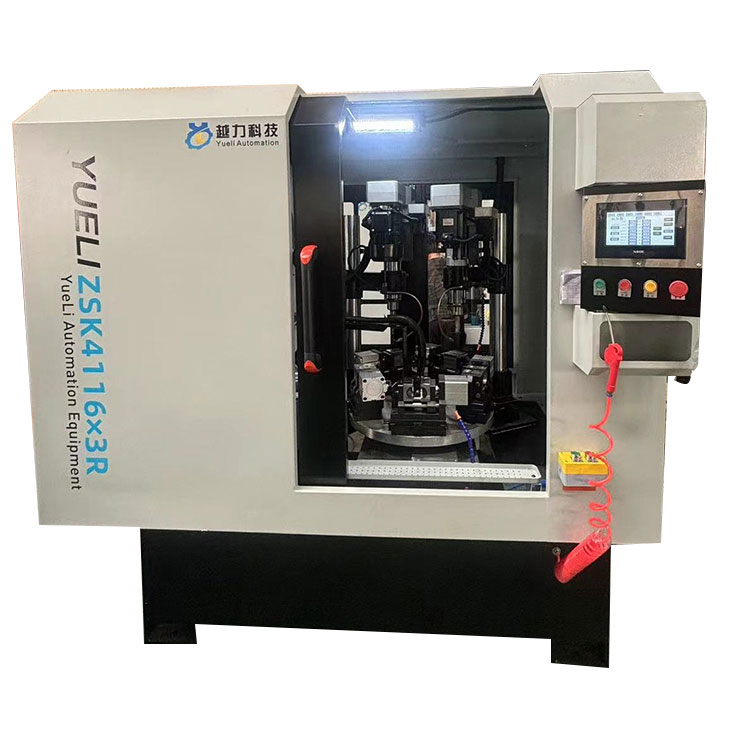
LY-650 drilling and tapping machine
YueLi, a reputable manufacturer in China, is willing to offer you Drilling And Tapping Machine. We promise to provide you with the best after-sale support and prompt delivery.
Product Introduction:
Function overview:
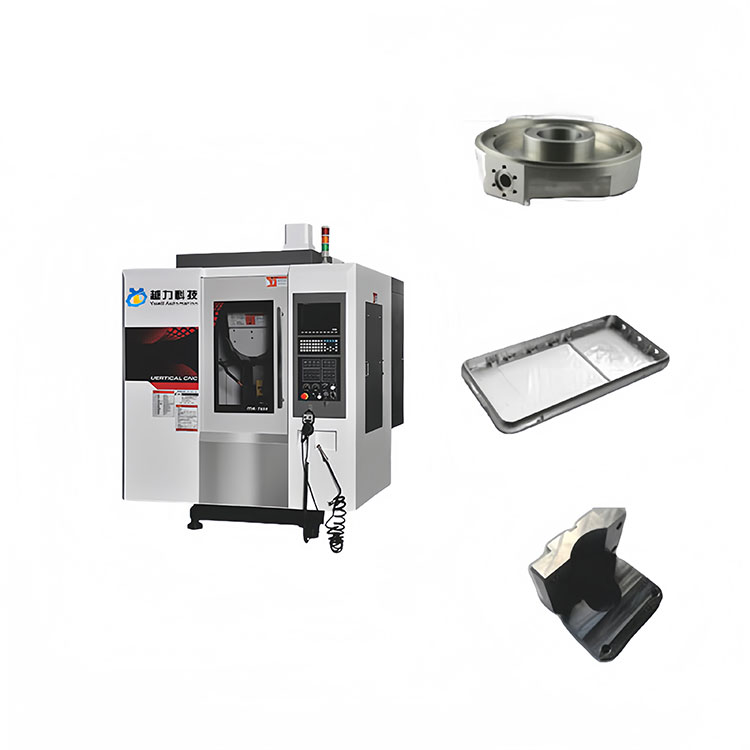
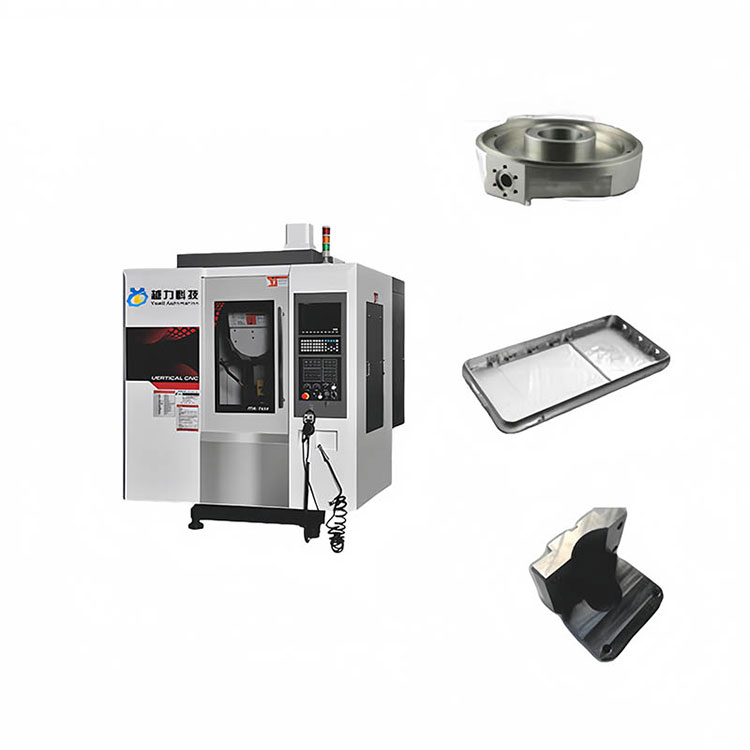
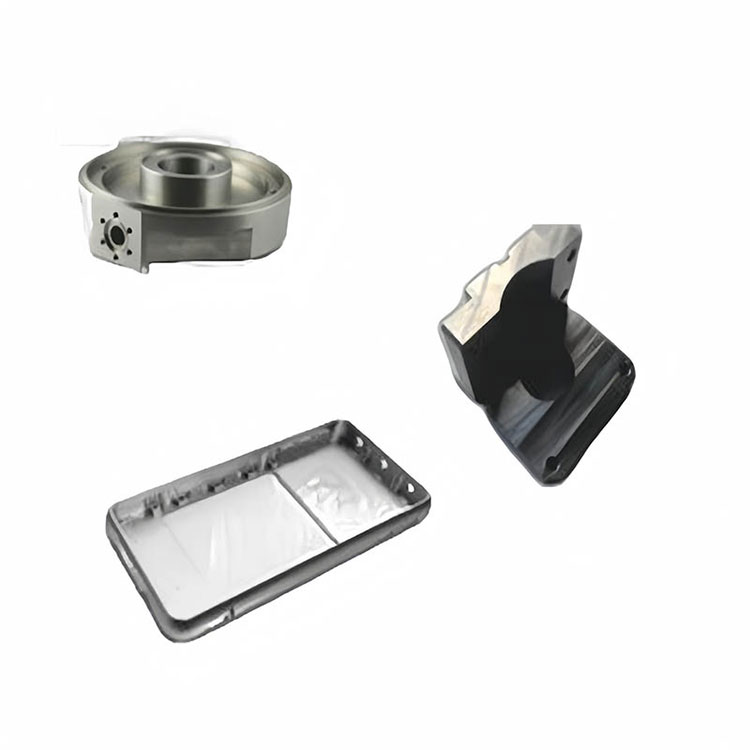
Specialized for small porous parts and products processing. It is suitable for processing mobile phone parts, communication equipment, aerospace, automobile locomotives, instruments and meters, light industry and textile, electronic appliances and machinery manufacturing, as well as copper, aluminum electrodes and other processing industries;
The main structure is made of high strength cast iron, and after stress relief annealing and natural aging treatment, the accuracy of the bed is durable and stable, long time no deformation;
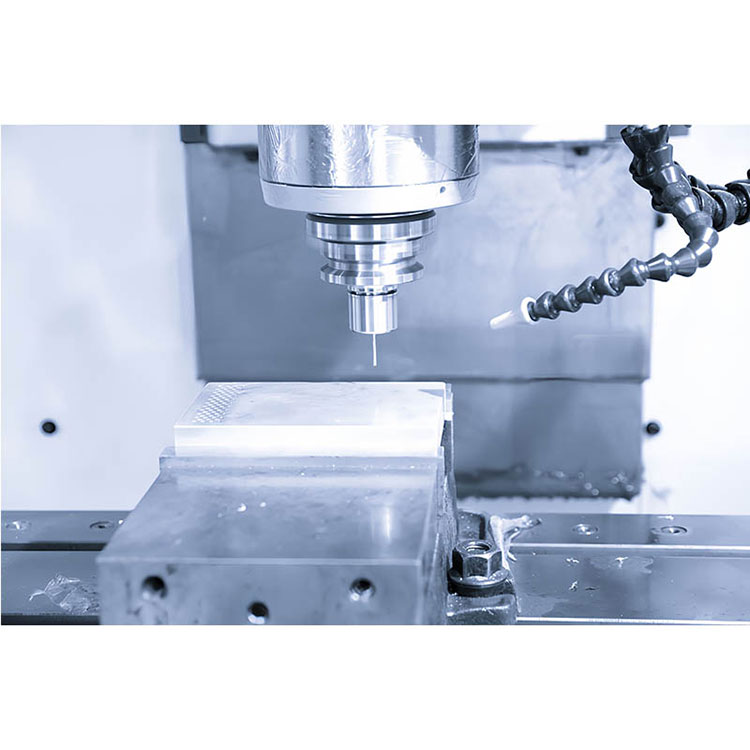
Adopt high precision straight junction spindle to realize high-speed machining of workpiece; The use of oil temperature cooling machine system can reduce the temperature rise caused by high-speed rotation of the spindle, effectively improve the thermal extension of the spindle, and improve the machining accuracy;
The clamping tool store is used to improve the tool change speed and accuracy of the machine tool, and the tool store capacity is 16 or 21 pieces;
The fuselage base adopts the rear inclined structure design, which is easy to clean the waste inside the machine tool;
The structural design of the tall column increases the distance between the nose end of the spindle and the workbench, which is more suitable for the installation and application of the fourth shaft components and makes the processing area wider.
Track lubrication automatic oiler, intermittent timing quantitative control of oil injection, lasting lubrication of moving parts;
Reference specification
|
Mechanical parameter |
unit |
T650 |
T850 |
T1000 |
T1200 |
|
Triaxial travel |
mm |
600×480x350 |
800×500×420 |
1000×500×450 |
1200×550×500 |
|
Table size |
mm |
650x475 |
1000x500 |
1300x550 |
1100x500 |
|
T-slot |
mm |
5-18x80 |
4-16x100 |
5-18x80 |
5-18x100 |
|
Maximum bearing capacity of table |
kg |
300 |
500 |
600 |
700 |
|
Distance from spindle end face to work surface |
mm |
150~500 |
140~560 |
150~600 |
150~650 |
|
Distance from spindle center to column guide rail |
mm |
541 |
580 |
580 |
605 |
|
X axis rail specifications |
mm |
35 |
35 |
35 |
30 |
|
Y-axis rail specifications |
mm |
30 |
35 |
35 |
35 |
|
Z axis rail specifications |
mm |
35 |
35 |
35 |
35 |
|
X/Y/Z screw specifications |
mm |
32x16 |
36x16 |
36x16 |
36x16 |
|
Spindle specification |
|
BT30/φ 100 |
BT30/φ 100 |
BT30/φ 100 |
BT30/φ 100 |
|
Maximum spindle speed |
rpm |
20000 |
20000 |
20000 |
20000 |
|
Spindle power |
kw |
5.5 |
5.5 |
5.5 |
7.5 |
|
X/Y/Z three-axis motor power |
kw |
1.5/1.5/3 |
2/2/3 |
2/2/3 |
2/2/3 |
|
X/Y/Z Fast maximum speed |
m/min |
48 |
48 |
48 |
48 |
|
X/Y/Z Maximum cutting speed |
mm/min |
10000 |
10000 |
10000 |
10000 |
|
Three-axis positioning accuracy |
mm |
±0.003/300 |
±0.003/300 |
±0.003/300 |
±0.003/300 |
|
Three axis repeated positioning accuracy |
mm |
±0.002/300 |
±0.002/300 |
±0.002/300 |
±0.002/300 |
|
Air pressure specification |
kg/cm2 |
6-7 |
6-7 |
6-7 |
6-7 |
|
Machine size |
mm |
1770×2300×2100 |
2300×2200×2500 |
2600×2500×2800 |
3000×2800×3000 |
|
Machine weight |
T |
3.2 |
4.5 |
5.3 |
6.5 |
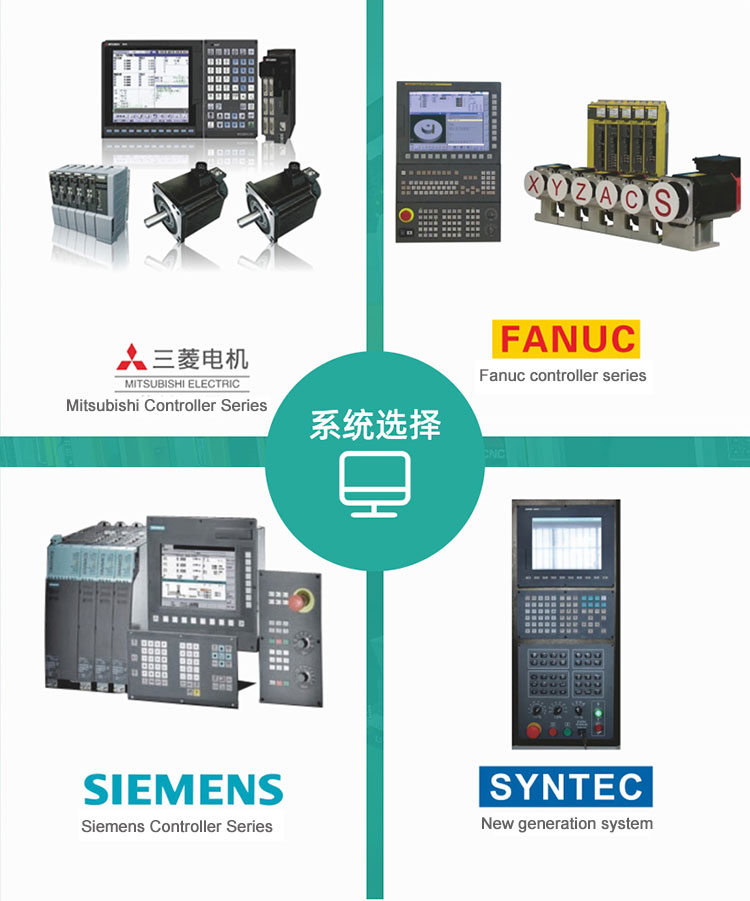
A variety of CNc system options
Company strength
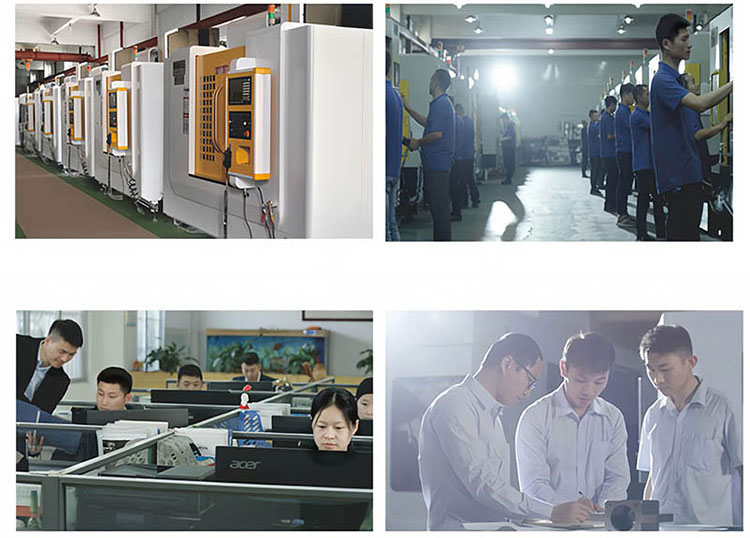
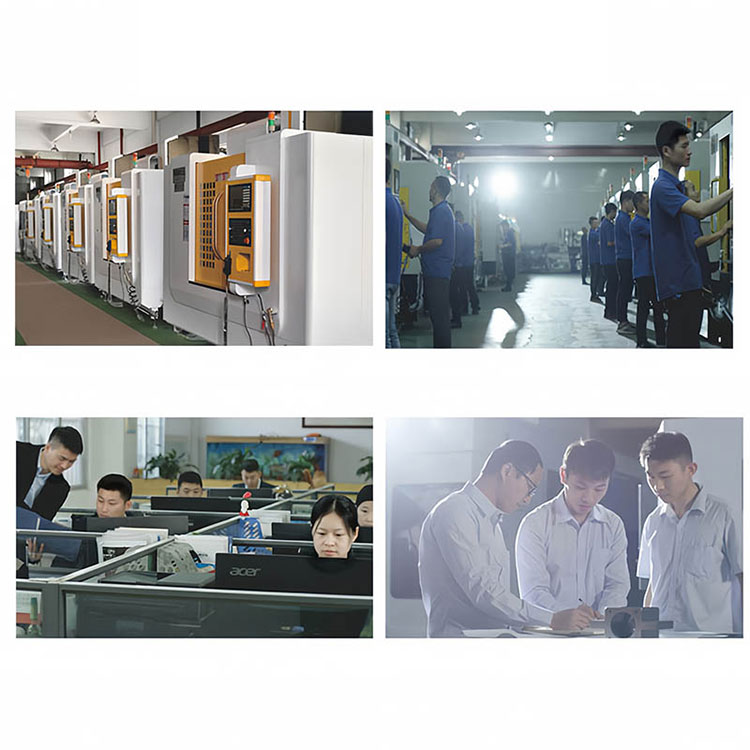
Production process
1, cast iron by high temperature furnace and aging treatment of more than six months.
2, rigorous assembly process (rail assembly, lead screw assembly, bearing assembly, etc.).
3, exquisite scraping technology (motor scraper, spindle end scraper, column installation surface scraper).
4, scientific production, traceability of the whole process of quality control system.

Quality assurance system
1. When detecting the pitch error, the straightness of the linear axis guide rail in XX and YY directions can be tested at the same time.
2, ensure the machining and assembly accuracy of each part of the machine tool. The formal positioning accuracy and repeated positioning accuracy of the machine tool are measured.
3, the whole machine detects the accuracy of the vertical degree of the spindle and the table plane, and the accuracy is required to ensure within 0.01mm.
4. The verticality of Z-axis guide rail and workbench is detected by the whole machine, and the accuracy is guaranteed within 0.01mm.
5. The machine detects the verticality of XY axis guide rail, requiring accuracy within 0.005mm.


